
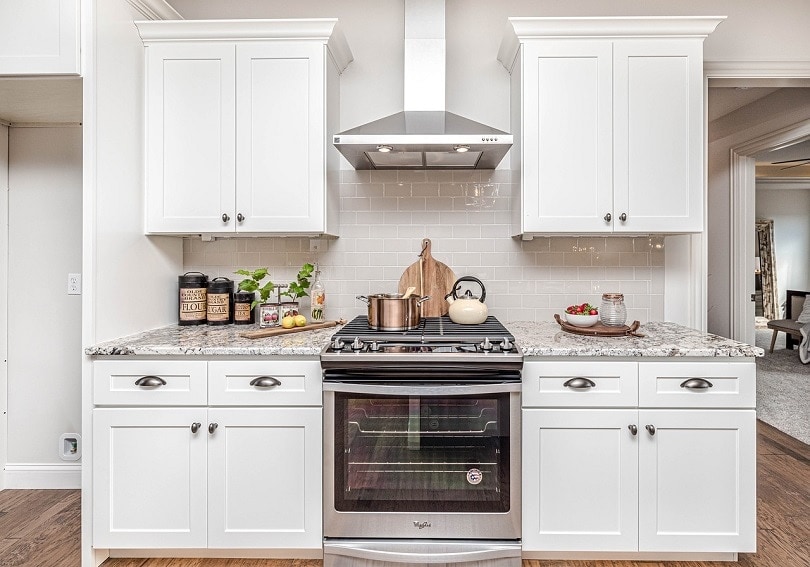
Maybe your spouse has mentioned that they would like to see the look of the kitchen spruced up a little bit. Maybe you have just been thinking that yourself. Either way, painting kitchen cabinets does not have to be the nightmare scenario that you probably have in mind.
In fact, with the right information, it can be easy, and even fun. But, you do need the right information.
The good news? We have it. Read on for a guide that will make spray painting your kitchen cabinets as easy as possible.

Step 1: Remove the Doors and Shelves:
The first thing that you are going to want to do is remove the doors and shelves of your cabinets so that you have several small, easily accessed pieces to work with. Removing these parts of the cabinet is simple, and can be done in short moments with a drill.
Step 2: Rub them Down:
Next, it is time to rub doors and shelving down with some degreaser. This serves to remove dirt and grime that can ruin a paint job and ensures tidy results.
Step 3: Repair Imperfections:
Whether you are dealing with walls or cabinets, imperfections don’t usually paint very well. The good news is that most blemishes can be easily treated by some wood filler. Before you do anything else, take a close look at the cabinets for any problem areas, and treat them as needed.
Step 4: Time to Bust out the Sander:
Hopefully you like sanding, because this is the part of the process that can get a little bit time-consuming. It is now time to sand down every single surface of the cabinets.
Using an orbital sander is going to expedite the process considerably, but if you don’t have one handy, you can always do it the old-fashioned way with a block sander.
Step 5: Prime the Components:
Once everything is sanded and ready to go, you are going to want to prime the doors and shelves. Primer is going to serve as a solid foundation for the paint to come, and it will also enhance the overall color of the cabinets.
Keep in mind that you are going to paint the sides of the doors and shelves one at a time. In between these paint jobs, you will need to let the first side dry. Give the primer several hours before switching over to the next side so as not to disrupt your results.
Step 6: Time For the Paint:
Now it is time to paint! Painting cabinets with a sprayer is usually quick and easy. Just remember to follow basic techniques. Maintain a distance of twelve inches between the tip and the surface, and keep a steady hand as you pass over the doors and shelves.
Step 7: Don’t Forget the Cabinet Boxes:
The doors and shelves are easy to paint because they can be taken right off. The boxes are a little bit trickier because they require a brush or roller to really access their ins and outs.
The steps are the same, but instead of getting to use the sprayer, you just apply the primer and paint with a brush.
Once this has been done, give everything an extra twenty four hours or so to dry, then re-attach the doors and shelves.
And that is that! Doing it yourself does take a lot of time, but it doesn’t have to be hard, and it is certainly infinitely more affordable than hiring out.

Conclusion:
While spray painting your kitchen cabinets does take some work, it doesn’t need to be work that you will dread doing. Hopefully this walkthrough has made that clear.
Spray painting kitchen cabinets can be easy, relatively quick, and above all else, affordable. Just follow the steps illustrated in today’s guide, and you will have a new look for your kitchen quicker and easier than you ever would have thought possible.
Related Reads:
- HOW TO SPRAY PAINT A CHAIR IN 30 MINUTES
- HOW TO REMOVE PAINT FROM YOUR SKIN (7 EASY WAYS)
- HOW TO MIX PAINT FOR YOUR SPRAY GUN: 8 SIMPLE STEPS
Featured Image Credit: mgattorna, Pixabay
Contents